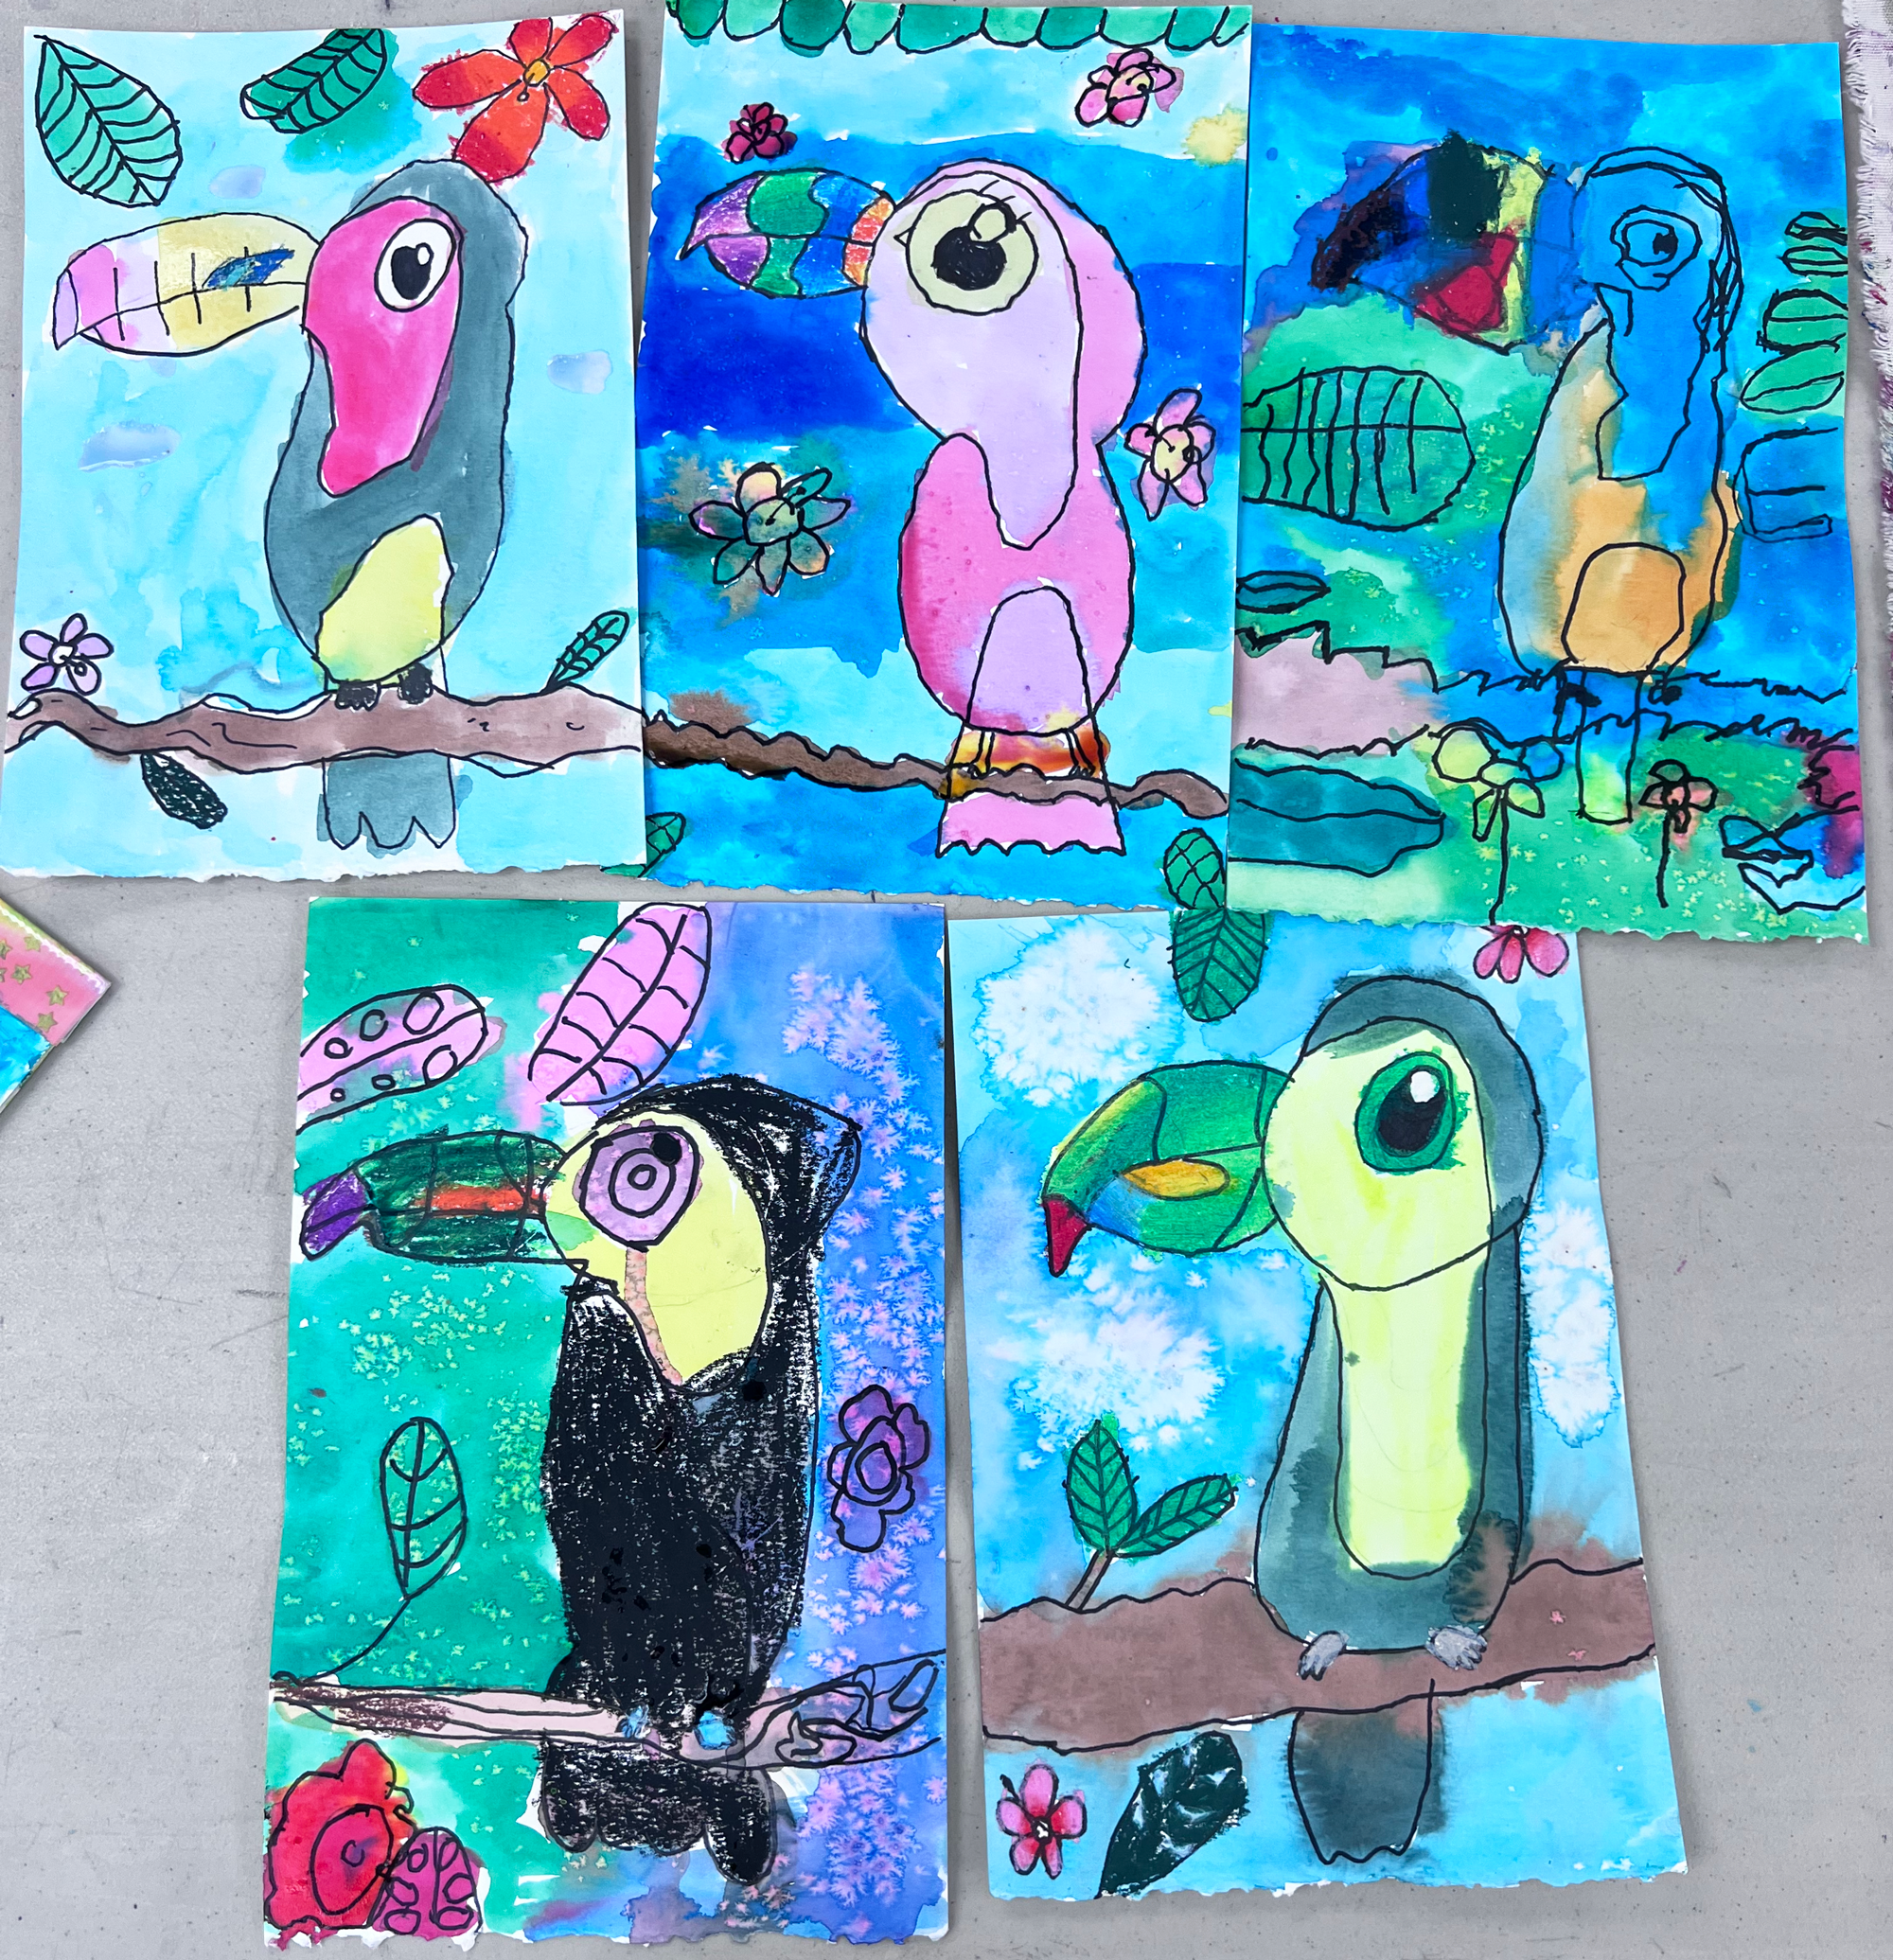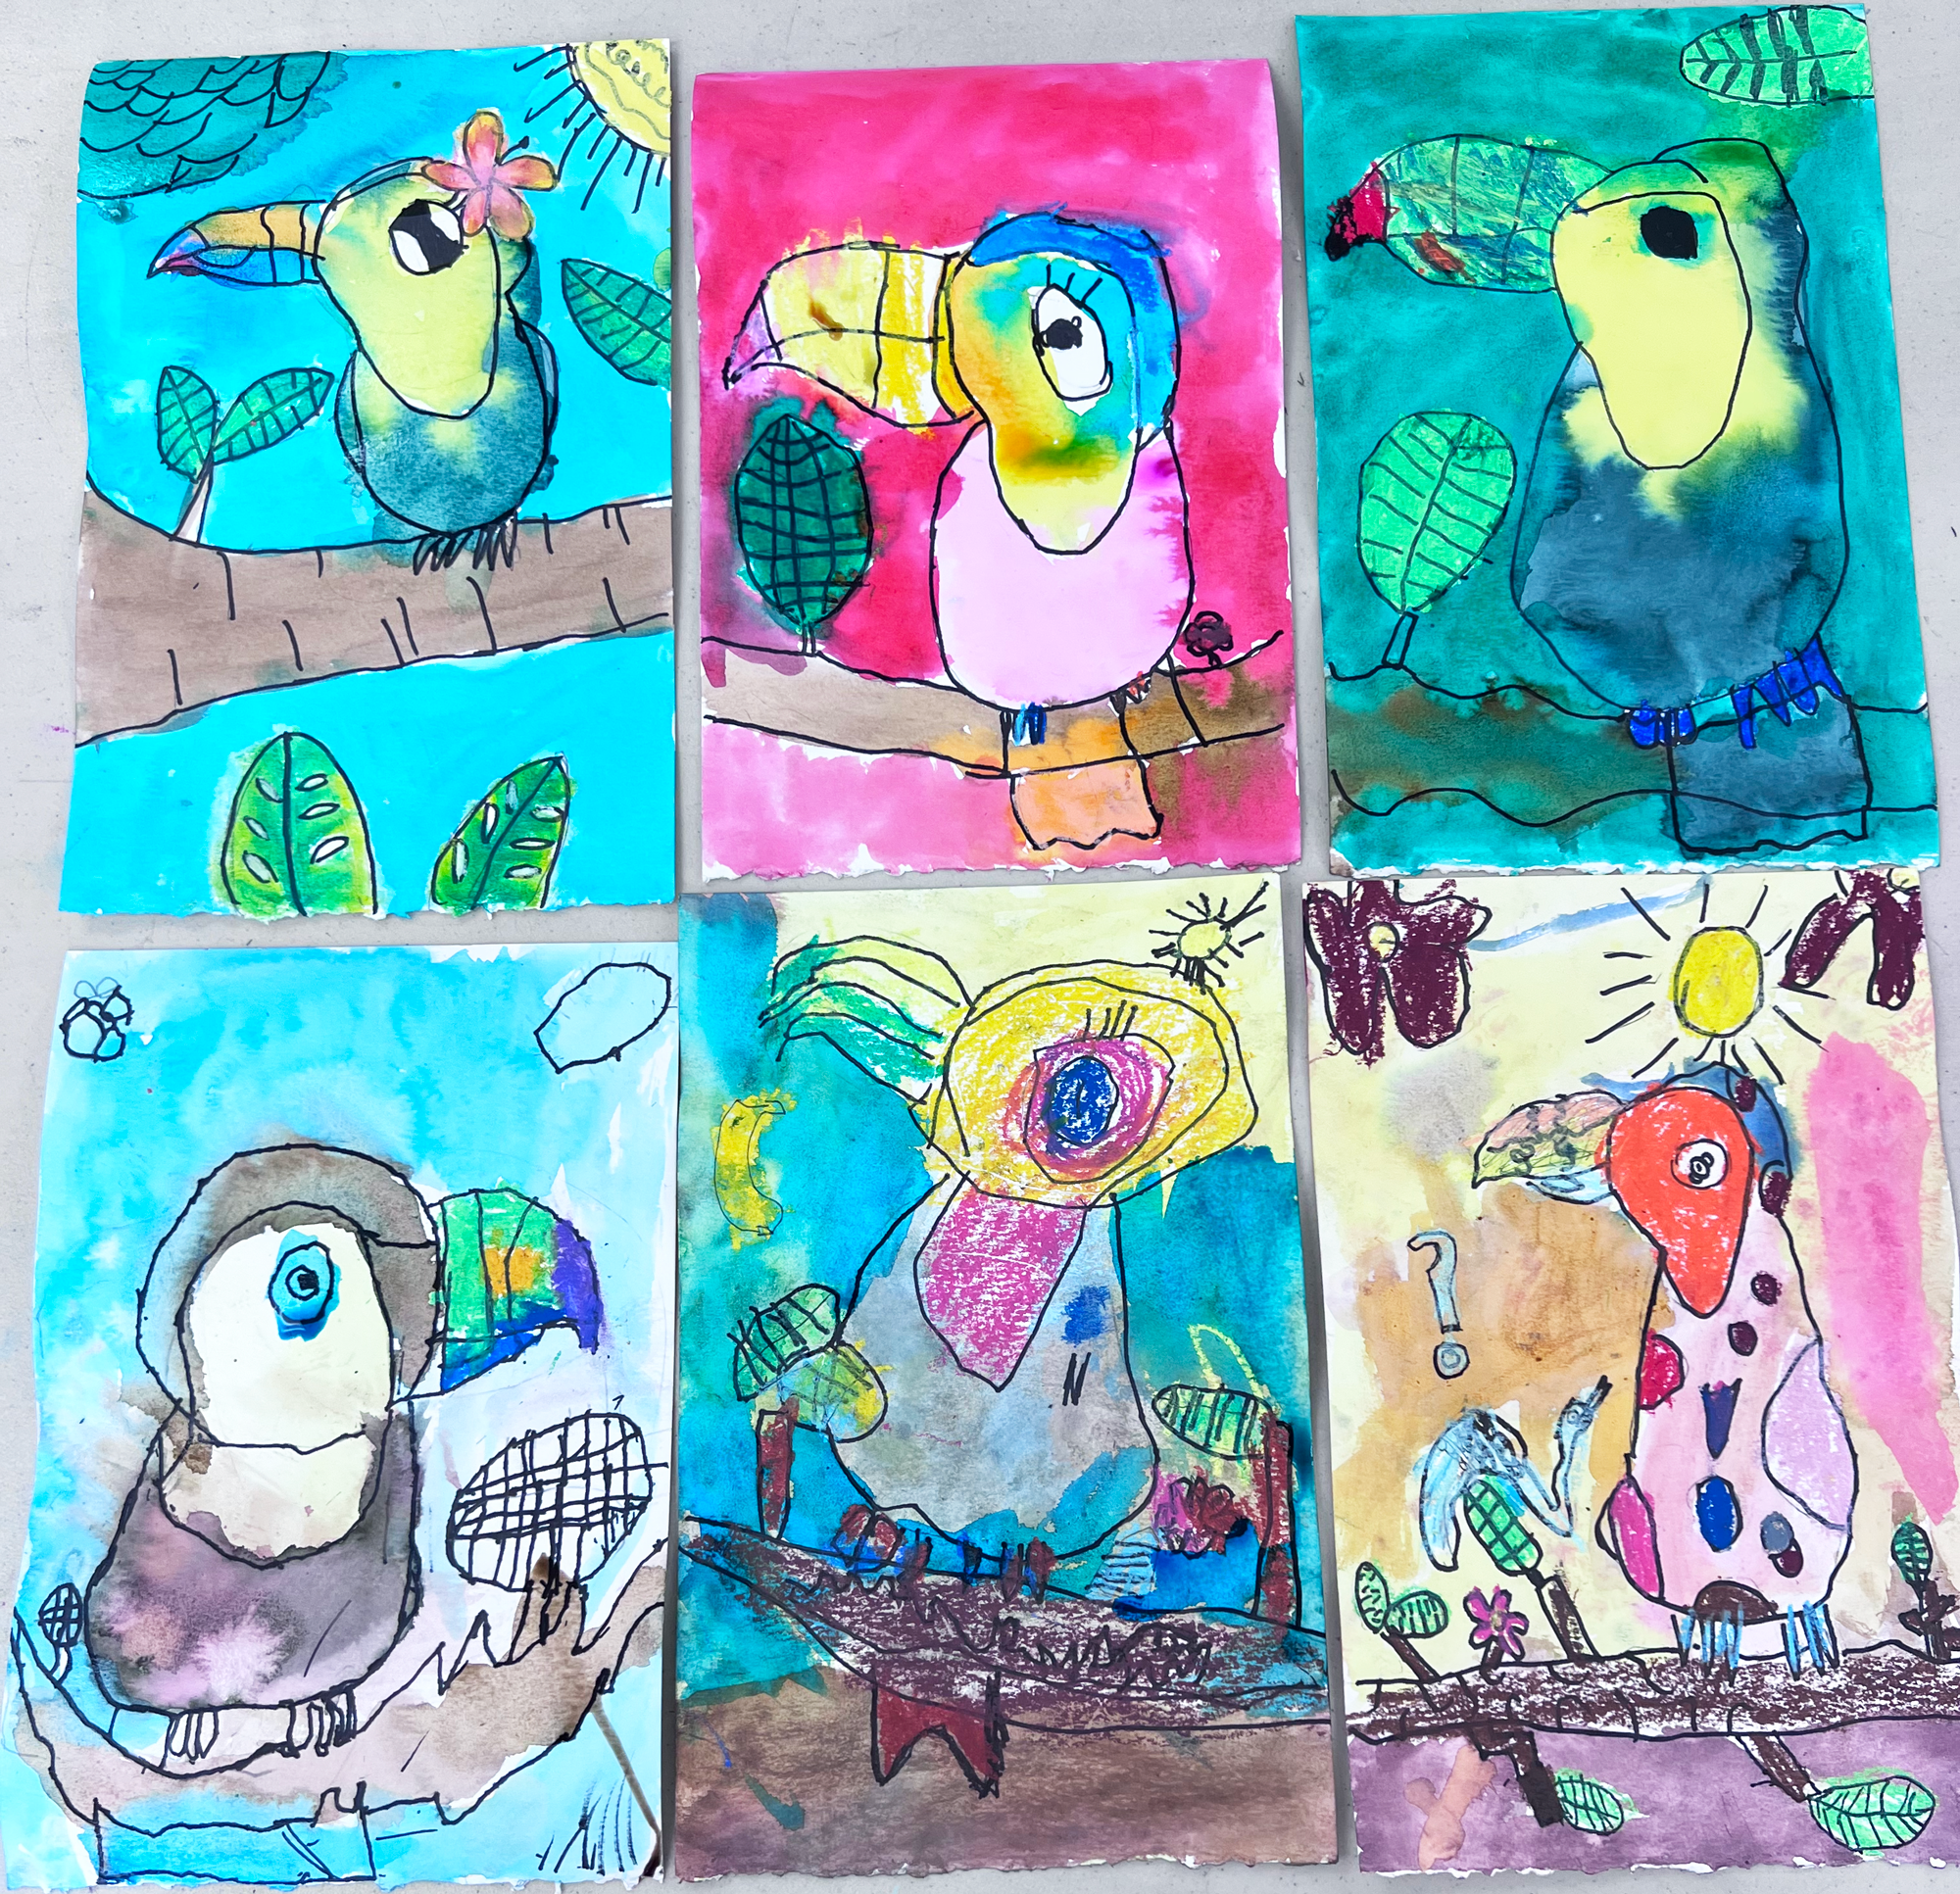
This project is a two-class project that involves drawing, tracing, erasing, coloring and finally painting! So it ticks all the boxes for an engaging mixed-media project that builds up fine motor skills but provides the satisfaction of color and experimentation. I did this project with children from ages 4 through 4th grade, and they turned out amazing! Little ones can draw this!
Kids love to paint, right? But by working on the drawing of our toucan first, they have a structure in place to add the color, rather than turning into a big watery mess. Don’t get me wrong–I love letting students free paint. But when we take the time to draw something, they are able to get so much more satisfaction and confidence, and their work of art is so much more spectacular.
Let’s Talk Supplies
Supplies We Used
- Watercolor paper (I love using Strathmore 140 lb. watercolor paper from Blick) It’s sturdy, doesn’t buckle, and absorbs the paint very well.
- HB Pencil
- Eraser
- Fine Point Sharpie
- Oil Pastels (I like pentel, and always get the biggest set for the most variety of colors)
- Watercolors (I use Blick liquid watercolors)
- Ice cube trays (game changer for liquid watercolors)
- Brushes (I prefer Royal & Langnickel, they’re soft but durable)
- Paper Towels (Blue Shop Towels)
The Step-By-Step Plan
DRAWING
Start simple. I love the step-by-step method of drawing. I’ve been teaching this way for well over 20 years, before Youtube. Yes, it’s technically copying what I am drawing on the board, but one thing I notice is oftentimes children tend to draw small. They don’t fill the paper without some encouragement and a visualization. So demonstrating the SIZE is so important.
I always draw the rectangle of my paper and instruct them not to draw my rectangle as this is just my “paper” shape. This helps to establish the SIZE of all subsequent shapes.
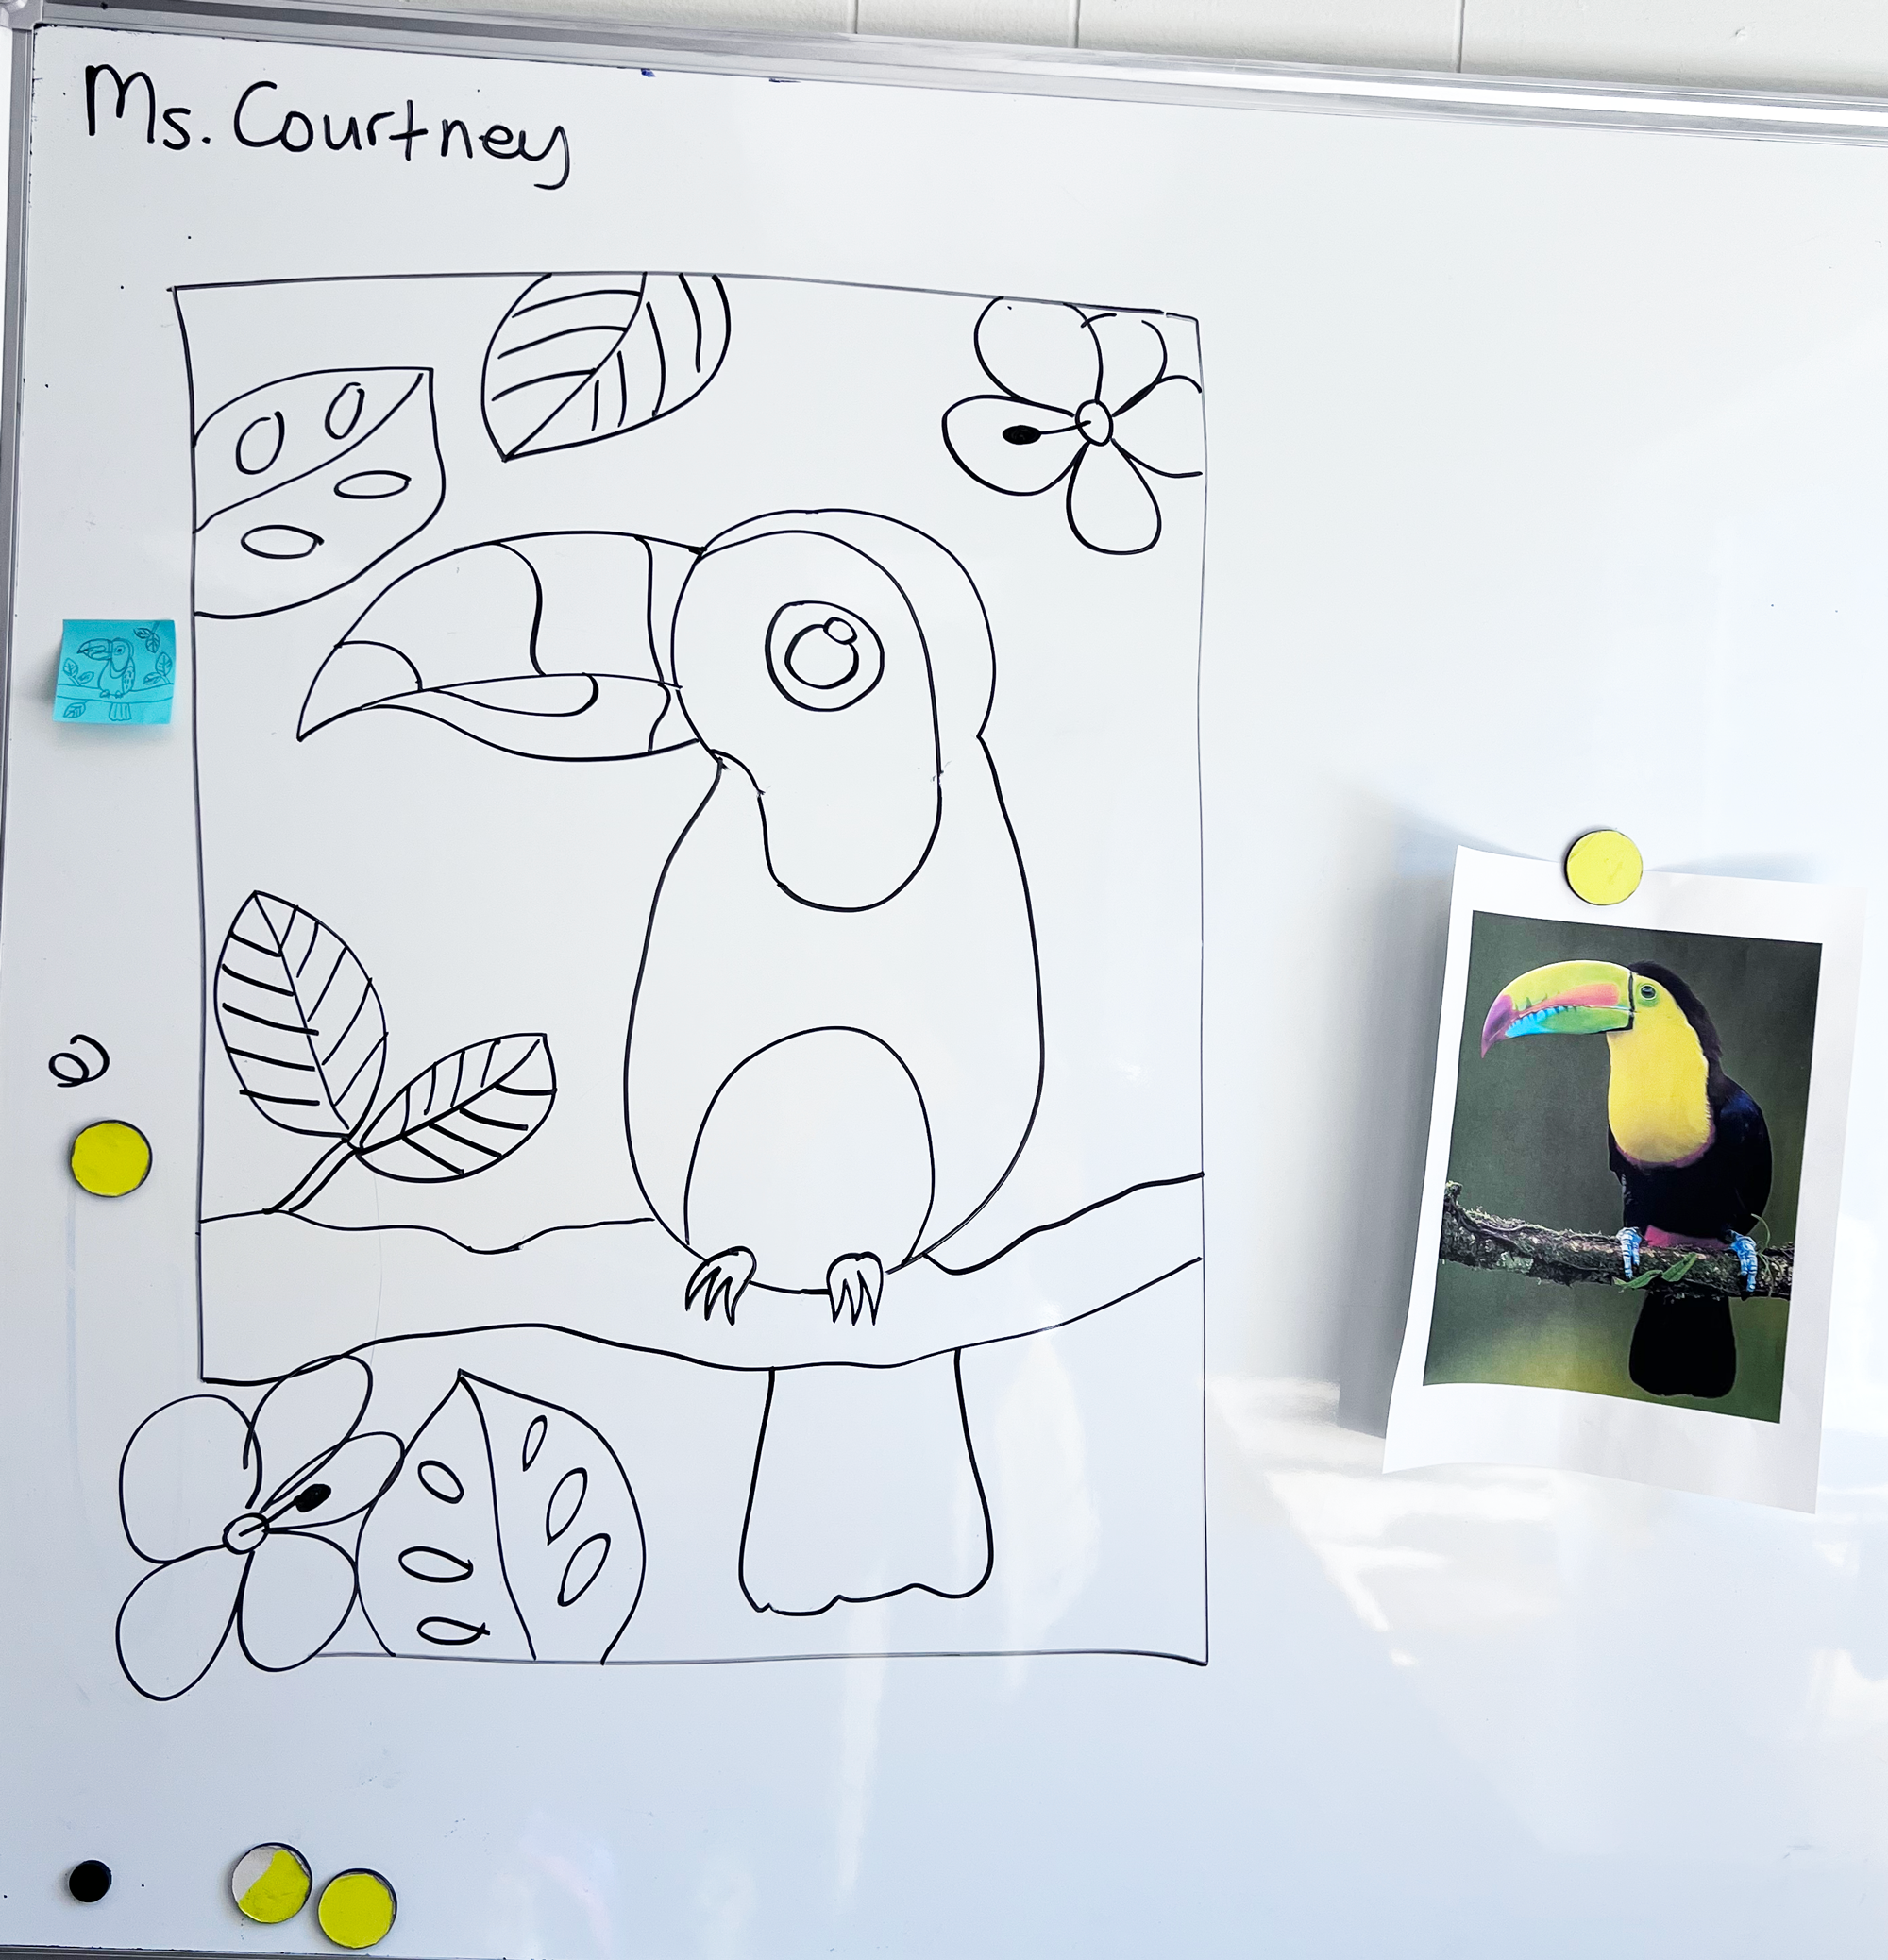
Start with the head (simple circle shape). I usually have students place their hand in the middle of the paper, and then instruct them to travel a little up and to the side, and to draw a circle. The circle has to be able to fit their hand (fist) inside. Their hands are small, so this is good. This way we have room for the Toucan’s eye!
Next add the next shape, the first line of the beak, and then the bottom line. Then the body, eye, etc. I only do one shape or line at a time, and come around to help with anyone who is struggling. They draw it by themselves and they build their own confidence! I always encourage them to try, even if they say they can’t.
And remember erasers were invented for this. If they don’t love what they drew, we can easily erase and try again.
TRACING
Once they’ve added all the shapes they like (animals, flowers, insects, leaves, anything they want to personalize their drawing with) then they Sharpie their drawing, taking their time. I always demonstrate how to Sharpie. I have a speal….first I scribble and go fast so they can see how icky it looks. Then I do it slowly and carefully, to get their feedback if that looks better. They always say yes 🙂 They’re always shocked when I scribble and go fast at first, and then for students who I’ve had a long time, they are ‘in the know’ and they always remind me “Go fast and do it bad!” Then they Sharpie. For some, this might be their first time. I remind them they will get better every time they try. Their line will get smoother, etc.
ERASE
They do not love erasing, but they get good at it! I do a demo for erasing for those who are young. It takes two hands (one to hold the paper, one to erase) and how to hold the eraser if they don’t know. After a few projects they get the hang of it, and just erase by instinct!
COLOR
Color small shapes, I demonstrate blending, and a messy way to color vs. a really nice way to color. Again the scribble scrabble comes in handy. Do it icky first, and then do it good, and they’re amazed at how good it *could* look and try to do it too. Remind to only color the small shapes, and talk about what is a big shape vs. a small shape. Sometimes they forget and start coloring the background, but it’s a great to talk about what is background vs what is the foreground.
PAINT
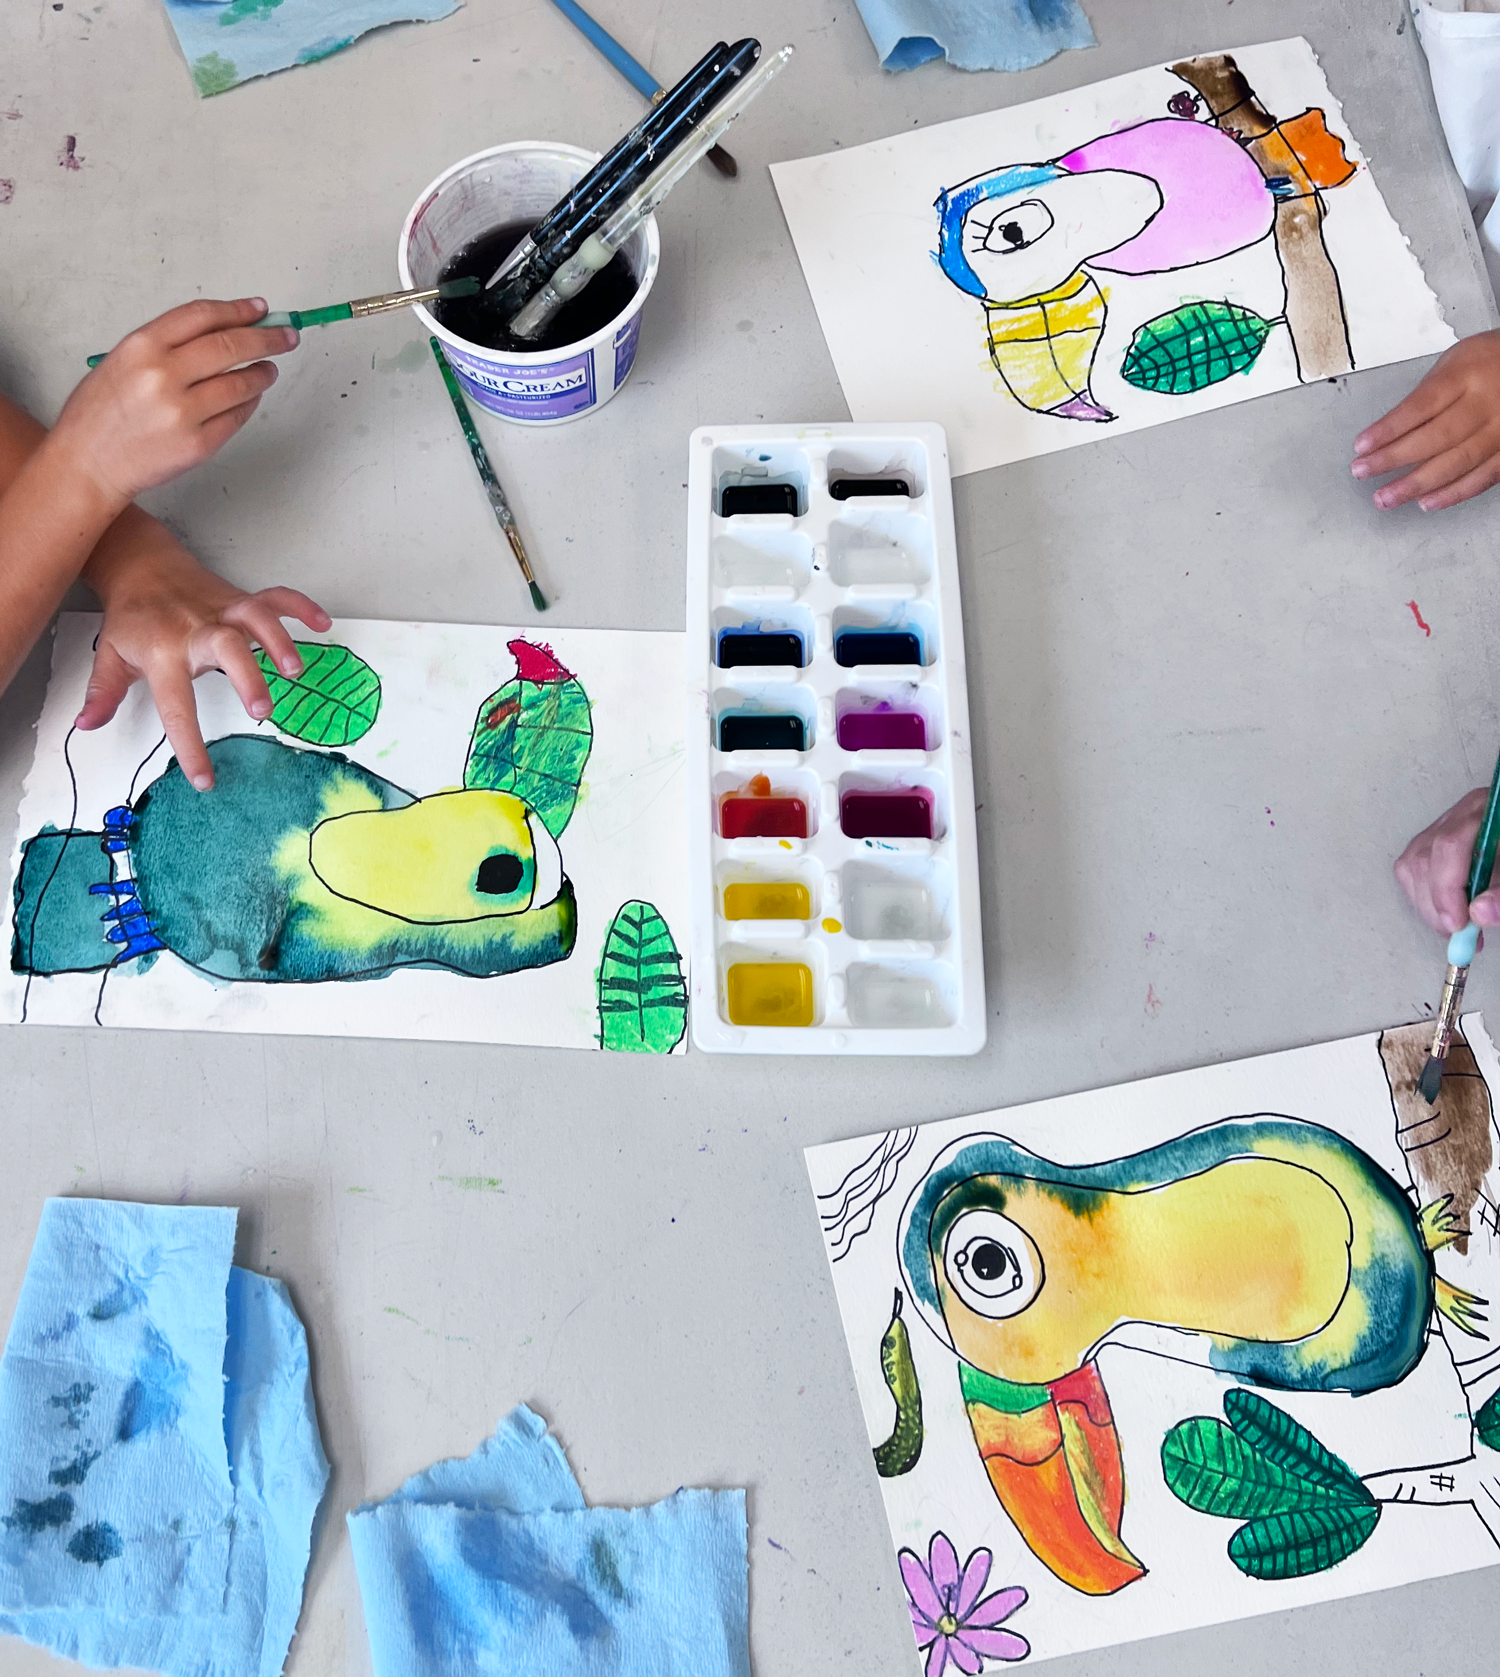
Everyone’s favorite part! I demonstrate painting, how we can go over the oil pastel, how we don’t want to mix all the colors and make brown right away, etc. And also try to encourage using different colors for different shapes. This isn’t a painting heavy project and they were on the younger side, so we didn’t do too many “watercolor” lessons with this. Just hopefully get the paint on the paper!
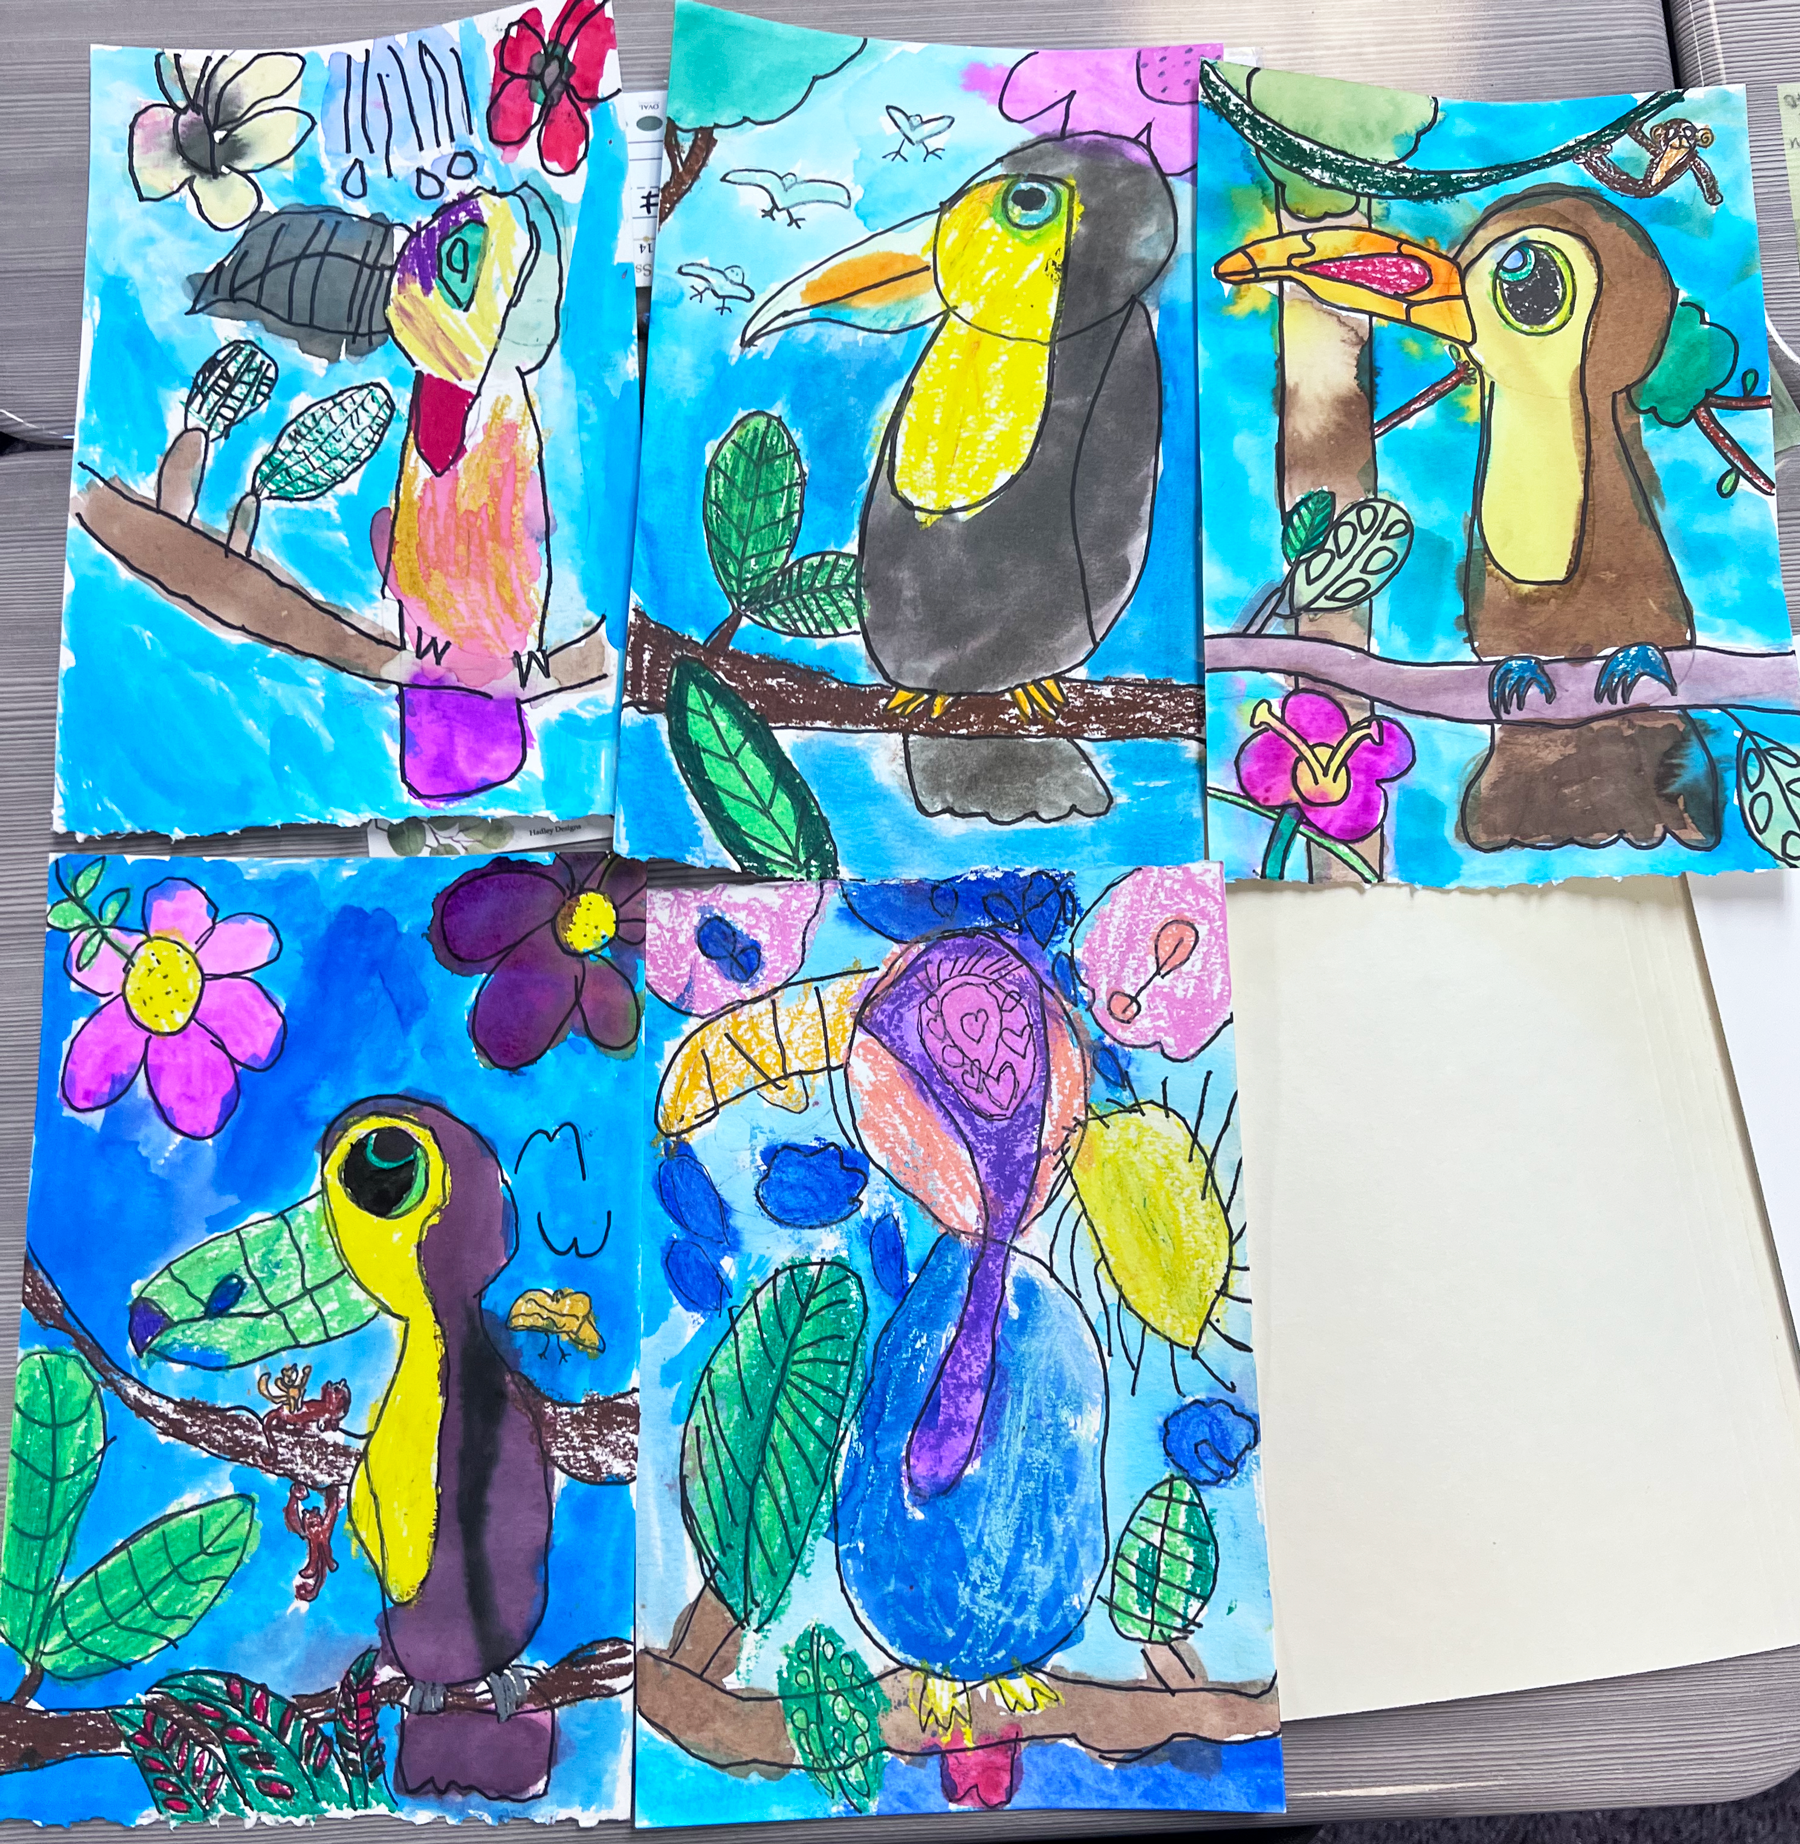
And they did! Look at these amazing paintings! Some of the classes used a little salt for the effect.
Happy Making!